|
Portabellabz VCS3 Card |
|
I built a Portabellabz VCS3 Card for a 208 customer.
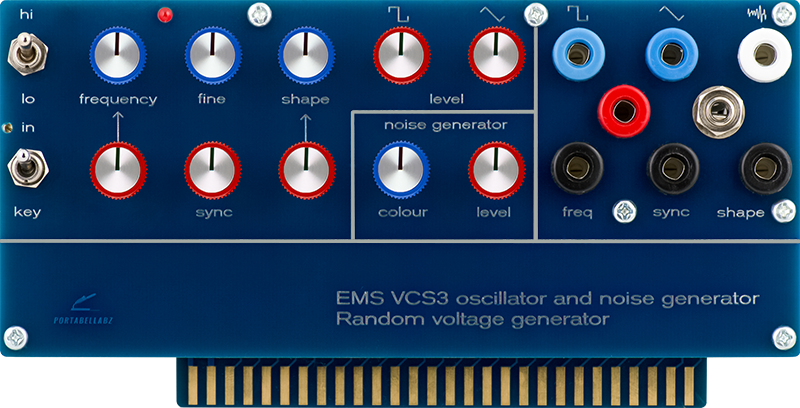
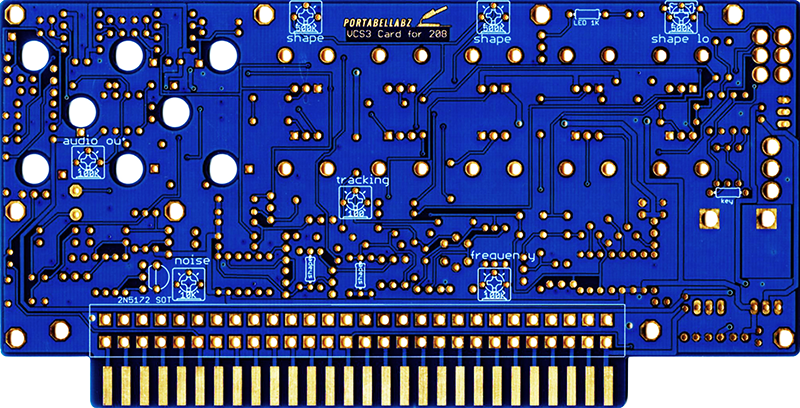
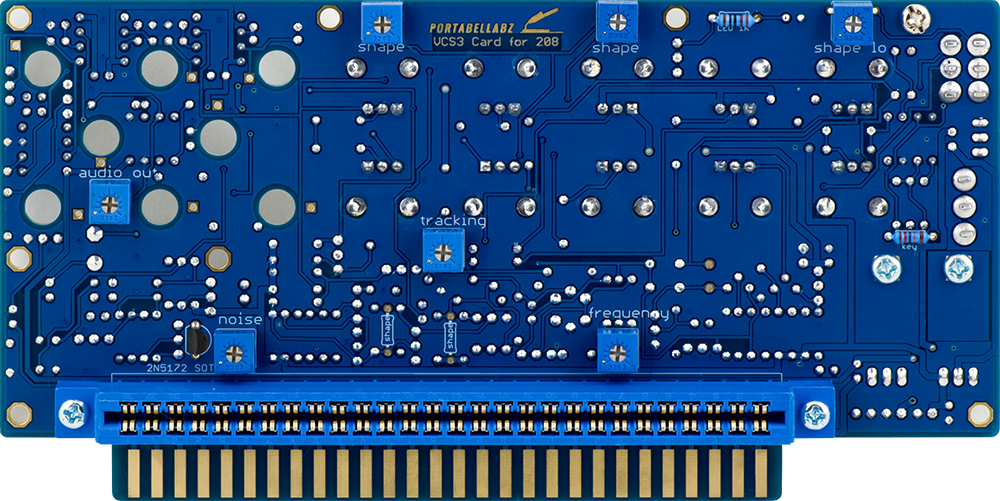
The PCBs are labeled front and rear for all component values. It is tight construction and components have to be less than 12 mm in height.
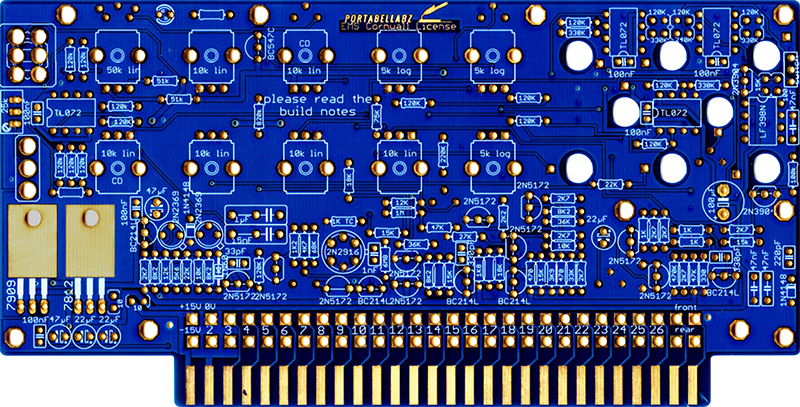
I used sockets for the ICs and thermal grease for the 1K tempco. I always alternate the bent lead on the vertical mounted resistors so if they get bent then won't short against a neighbor. This is the initial PCB so the multi-turn trimmer may not line up with the hole in the front panel. I had to rotate the trimmer so the screw was oriented towards the edge of the PCB to align with the hole after this photo was taken. Later version PCBs have the trimmer location repositioned.
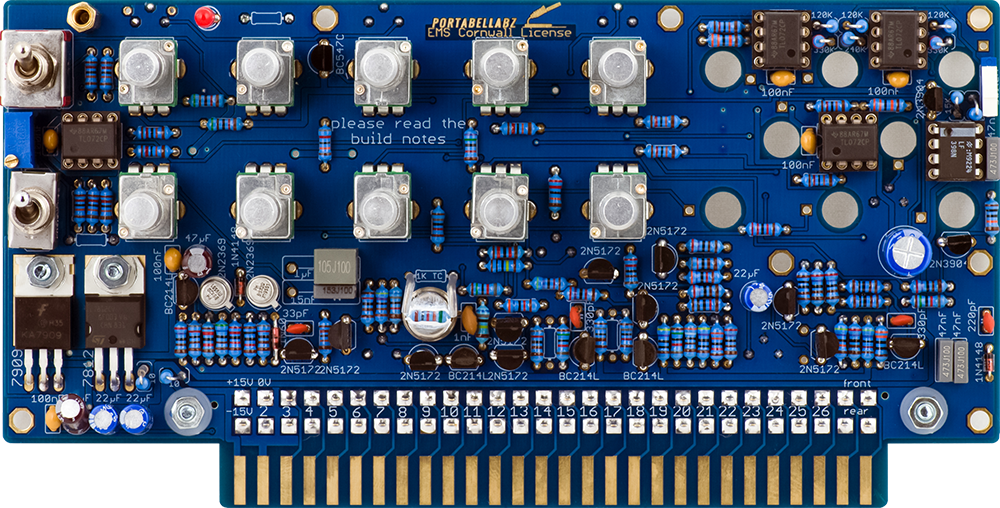
I used trimmers for the three selected resistor locations. There is no ground pad for the 3.5mm jack but I added a wire to a nearby ground pad on the rear.
Operation
The keyboard CV comes from the Program Board connector "S" pin (15th from the left on rear) which is only active with the En-B so you have to have the Easel Control switch set to Both. The Random Voltage Generator operates when the switch behind the panel on the right is set to down. It requires a clock which comes from the 208 Inverter To Prog banana jack.
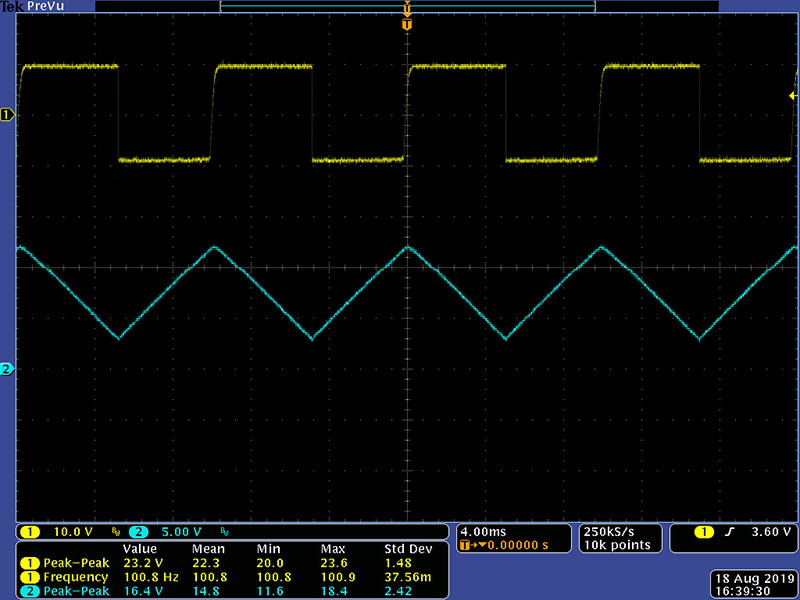
I did all my verification and calibration on the bench. My power consumption ran a bit more at around 75 mA per rail. This scope image shows the Square and Triangle banana jack outputs with fairly high amplitude. The square is symmetrical about ground but the ramp is not so the triangle waveform has an offset of about 7.75V (+12.5V/+3V).
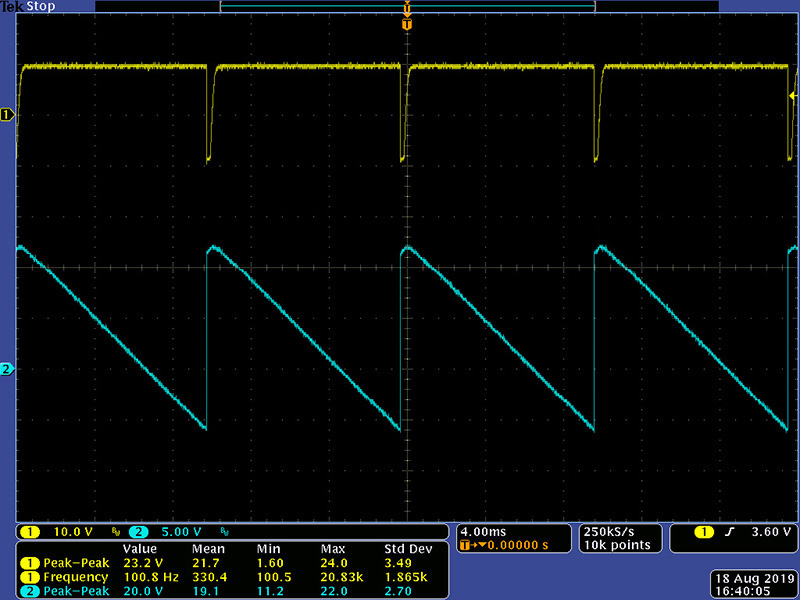
These two scope images show the near minimum and maximum of the Shape control. Further rotation flatlines the Square output. The ramp and saw are not symmetrical about ground and have an offset of 2.75V (+12V/-6.5V).

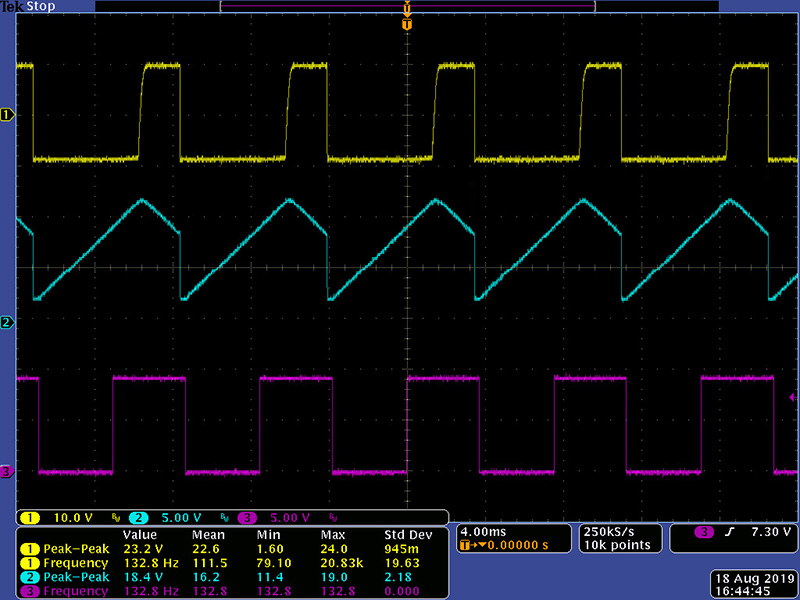
This scope image shows the VCO with the shape set to center at 100 Hz synchronized to an external 132 Hz square wave.
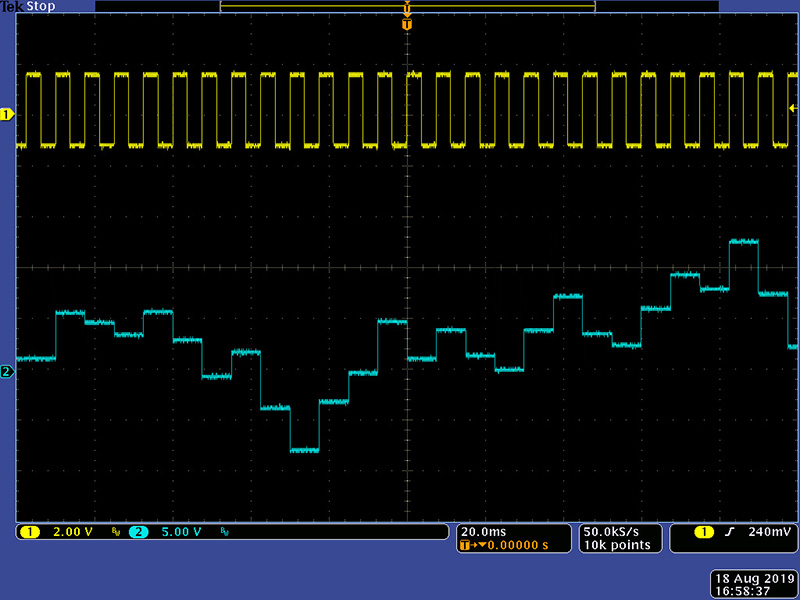
This scope image shows the Random Voltage outputs with an external clock.
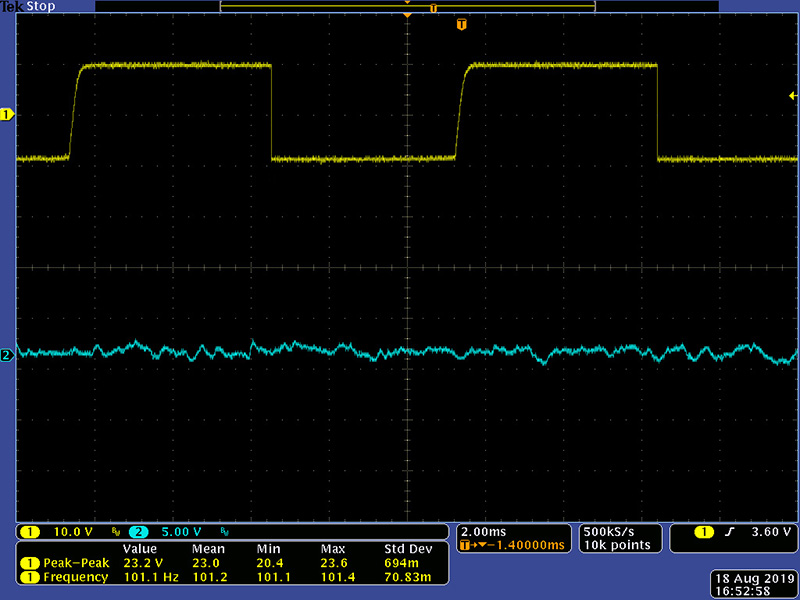
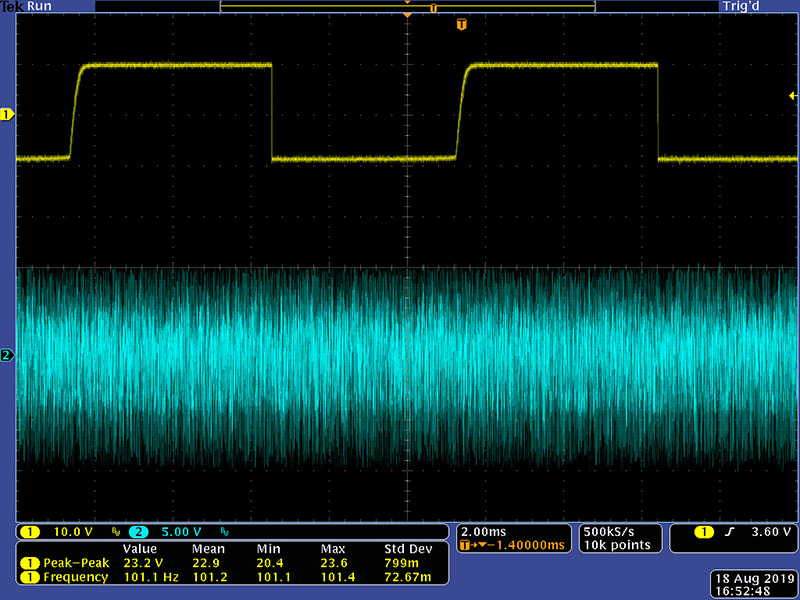
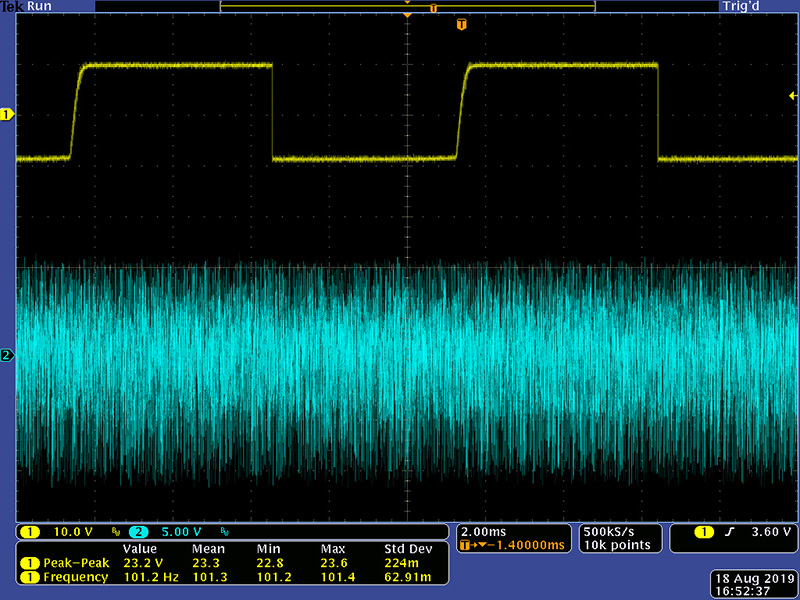
The Noise Color works very well. Here are scope images of the output with color set to minimum, mid, and maximum. Although at minimum the output is low the audio output is appropriate. Likewise there is little difference in the scope images of mid and maximum but the range of tone through the full Color control range is very nice.