|
DJB-Modular Side Cabinets |
|
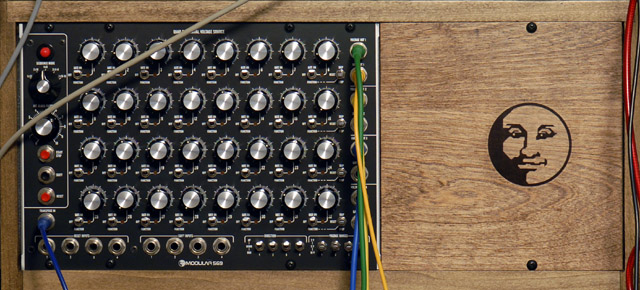
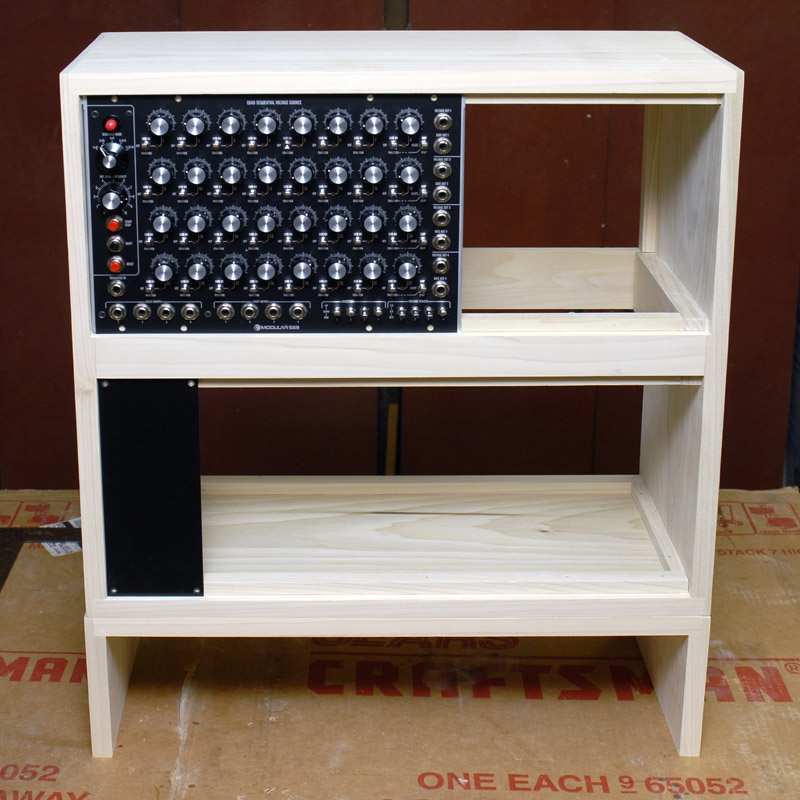
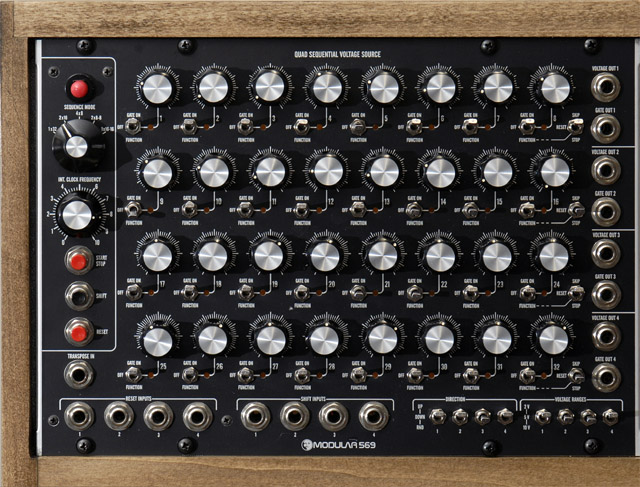
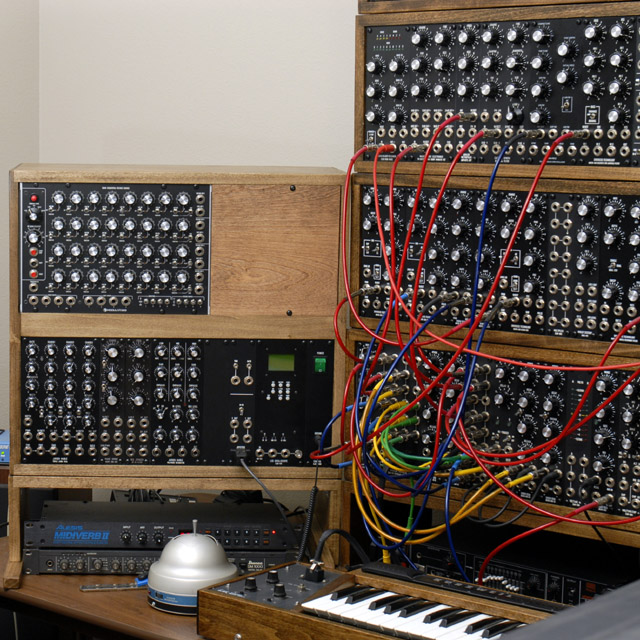
I purchased a Moon Modular M569 Sequential Voltage Source which is in a Dotcom format. I was out of cabinet space and needed a Dotcom compatible cabinet so I decided to build matching side cabinets for my modular. I chose to build two cabinets in a 2 row by 24U format as a side my main wood cabinets. The lower cabinet has one row for Dotcom format modules.
This photo shows the garage and the combination cabinet. The top row is 10MU of Dotcom space (21.25") and the bottom row is 12U of MOTM space (21"). I notched the sides on the upper row 1/8" narrower for the wider Dotcom spacing.
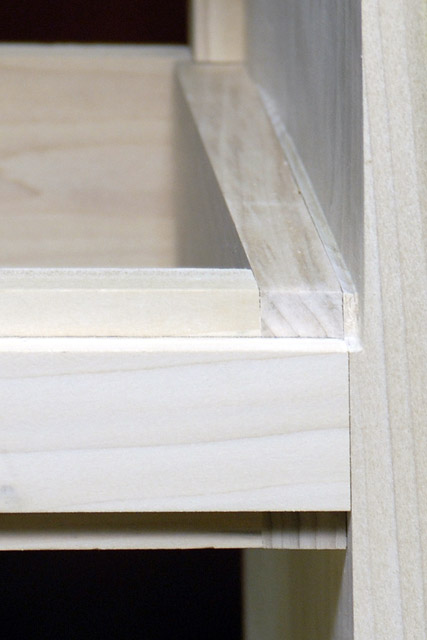
This photo shows the notch detail of the upper row. You can see where I routed the upper portion of the cabinet about 8 inches deep.
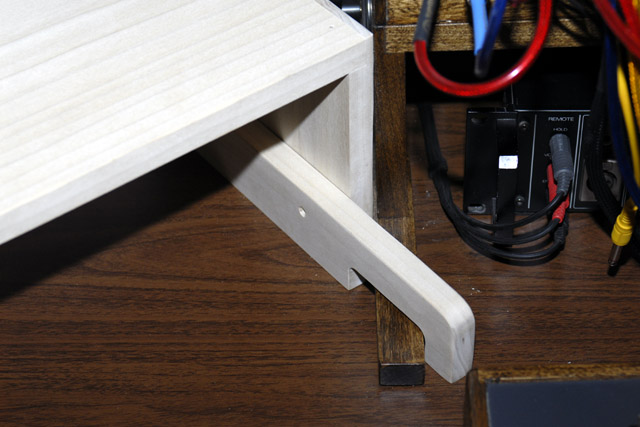
I add a longer foot on the base of the garage for increased stability. I mount them with screws so I can modify them if necessary. Since the cabinets sit at angles, I had to come up with this arrangement for the side cabinet foot.
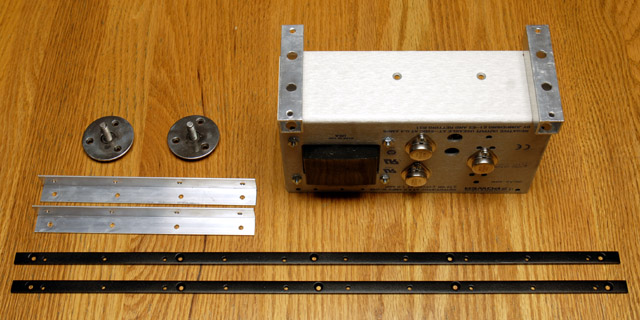
I purchased MOTM mounting rails from Bridechamber and fabricated the remaining hardware for the cabinet.
The power supply mounts on 3/4" square tubing to allow air circulation on all sides.
Pivot mounts on the sides of the cabinet and garage and a star knob will attach flat aluminum stock securing the cabinets together for stability.
Two angle brackets provide increased strength for the garage sides.
Two black 10MU mounting rails.
Even though the aluminum side rails hold the cabinets together, the felt sheet between cabinets is very slippery so there is some cabinet movement. It is especially noticeable with the side cabinets as there is a greater distance between the knobs. I decided to drill the top of each cabinet and insert cabinet pins to mate with a hole in the bottom of the next cabinet. These work great and really make the entire synthesizer stable. I machined one of the pins to a point which I insert in the top. When I put the next cabinet on top, it marks the center location of the hole to drill. Then I replace that with a pin and move the point to the other hole. Voila - perfectly matched holes.

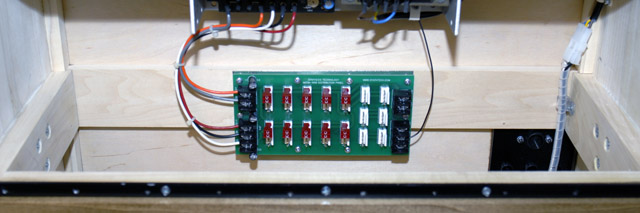
I build a DJB-007 Power module for all of my cabinets. This module daisy-chains power from the main cabinet and has fuses for both primary and an expansion plug for external power.
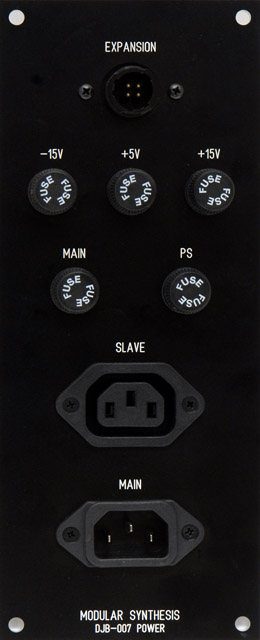
I mount the DJB-007 Power module in the lower left corner of all my cabinets. The lower cabinet has plugs for the DC power and the top cabinet will have the DC connector.
These two photos show the mounting of the power supply and the power distribution. I chose to mount the power supply on the top since the Dotcom modules generally are less deep.
In these photos you can see a small wire on the right running from the power supply to the distribution board. The linear power supplies make no connection between chassis and ground so all of my cabinet grounds float. In my setup, ground connects to chassis through external connections such as my Carver PM-600 amplifier. For this cabinet I decided to tie ground to chassis through a 100R resistor. I worry during the winter months about static discharge to the front panel controls and wanted to make sure I had a path to chassis ground.
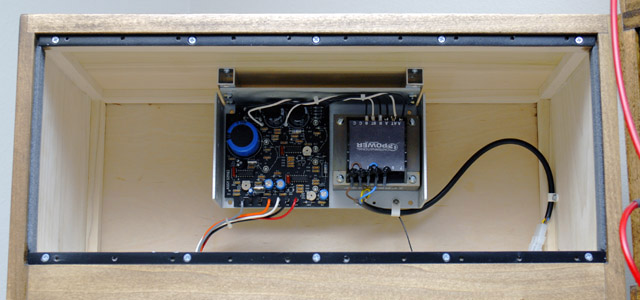
I add red 2 position connectors over the +5 and ground pins so I know which 4 pins are the standard MOTM power pins.
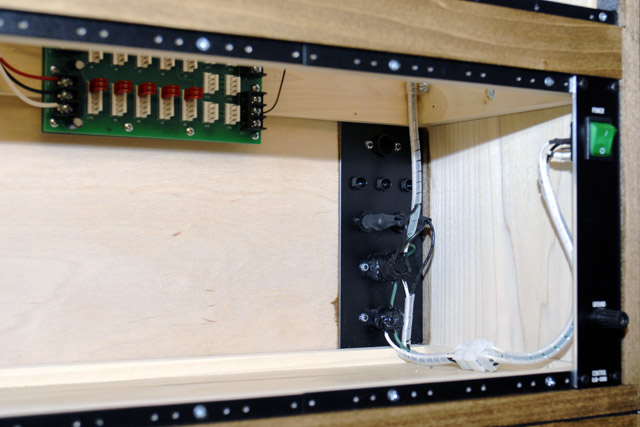
This photo shows the mains wiring from the DJB-007 Power to the DJB-006B Control front panel switch. I added a banana jack for a static wrist strap.
I install 3/16" open cell foam down the sides of the cabinet to act as a dust seal and to hide the gap I leave on each end of the module row (the gap looks dark because of the black foam).
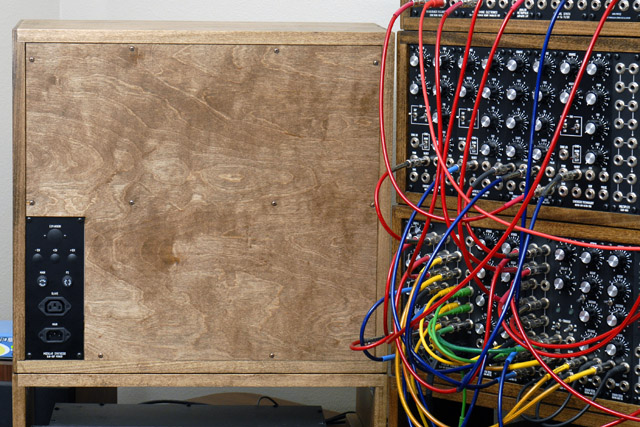
The first cabinet is complete. I use a piece of the rear for blank panels. I just have to cut it shorter as I add more Dotcom modules.
The second cabinet is complete. I didn't have enough blank panels so I also used another piece of the back as a 3U blank.
Final Touches
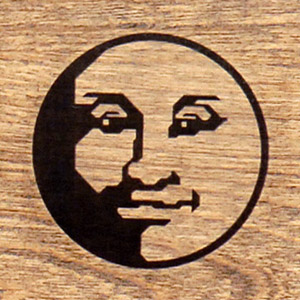
My 4 MU blank panel looked bare so I made a decal of the Moon Modular logo. I finished the panel with two coats of polyurethane over the decal.